- Installing SureRank
- SureRank Onboarding Guide
- SureRank Dashboard Overview
- General Settings
- Advanced Settings
- Search Console – SureRank
- Managing URL Redirection in SureRank
- SureRank Feature Management – Quick Guide
- Robots.txt Feature in SureRank
- Instant Indexing in SureRank Pro
- Using the Focus Keyword Feature in SureRank
- How to Fix WWW and Non-WWW Version Redirects to Improve Your SEO
- How to Fix: No H1 Heading Found on Your Homepage
- How to Fix Missing H2 Headings on Your Homepage
- Re-run Checks Button in SureRank
- Fix Critical Error: Another SEO Plugin Detected in SureRank
- Fix Warning: Site Tagline Is Not Set in SureRank
- How to Fix Multiple SEO Plugins Detected on Your Site
- How to Fix: Homepage is Not Indexable by Search Engines
- Warning: Homepage Does Not Contain Internal Links
- How to Fix Missing Alt Text on Homepage Images
- How to Fix: Search Engine Title is Missing on the Page
- Page Level SEO: Broken Links Detected
- How to Fix Missing Alt Text on Images
- How to Fix Page URLs That Are Too Long
- Page Level SEO Warning: No Links Found on This Page
- Page Level SEO Warning: No Images or Videos Found
- Page Level SEO Warning: Missing Search Engine Description
- Page Level SEO Warning: No Subheadings Found on This Page
- Page Level SEO Warning: Canonical Tag is Missing
- Page Level SEO Warning: Open Graph Tags Missing
- Customize Final Title Tag surerank_final_title
- Customize Post Type Archive Title Output surerank_post_type_archive_title
- Customize Archive Page Title with surerank_archive_title
- CustomizeModify the Search Results Page Title surerank_search_title
- Customizing the 404 Page Title surerank_not_found_title
- Customizing the Title Separator surerank_title_separator
- How to Remove Archive Prefixes from Titles Using SureRank
- Customize Homepage Pagination Format surerank_homepage_pagination_format
- Customize Maximum SEO Title Length surerank_title_length
- Enable/Disable Pagination in SureRank Archives surerank_show_pagination
SureRank Onboarding Guide
Set up SureRank in a few quick steps to start improving your site’s SEO.
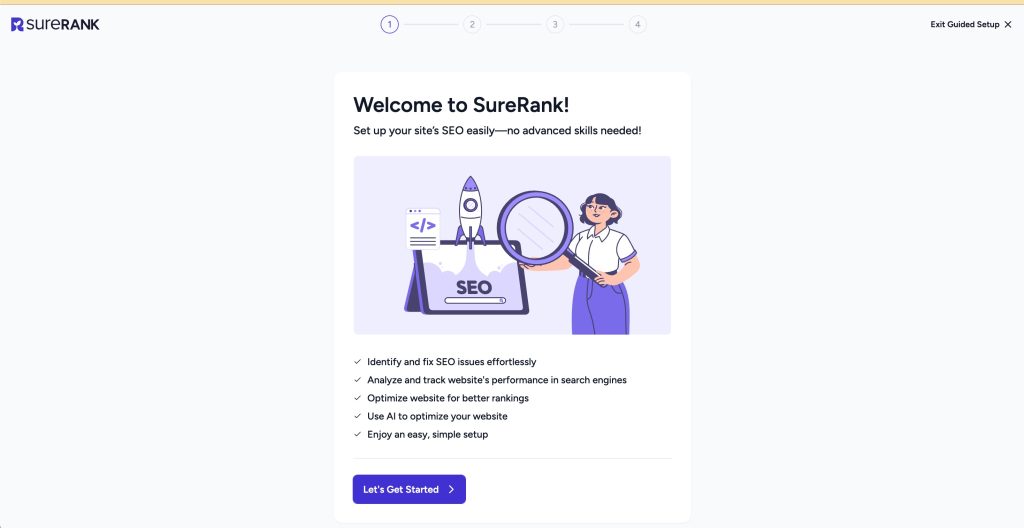
Step 1: Welcome Screen
After activating the plugin, you’ll be redirected to the SureRank Welcome Screen. Click “Let’s Get Started” to begin.
If you installed SureRank on a site that already uses another SEO plugin, you may see an extra onboarding step: Migration.
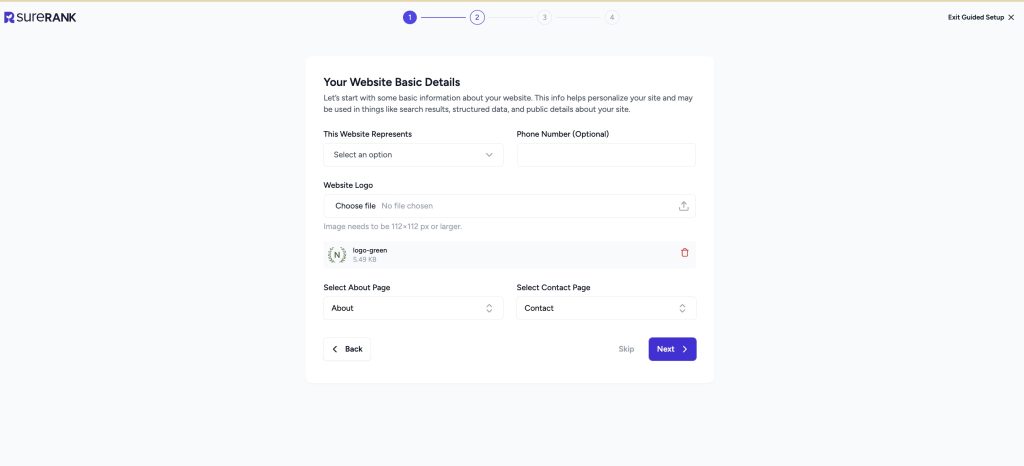
Step 2: Website Basic Details
Enter your site’s basic information:
- This Website Represents
- Phone Number (Optional)
- Website Logo: (112×112 px or larger)
- About Page
- Contact Page
Click “Next” to continue. You can skip this step if needed.
Step 3: Social Profiles
Add the URLs for your site’s social profiles. SureRank uses these to generate SameAs schema for better SEO.
Supported platforms include:
- X (formerly Twitter)
- YouTube
- and more
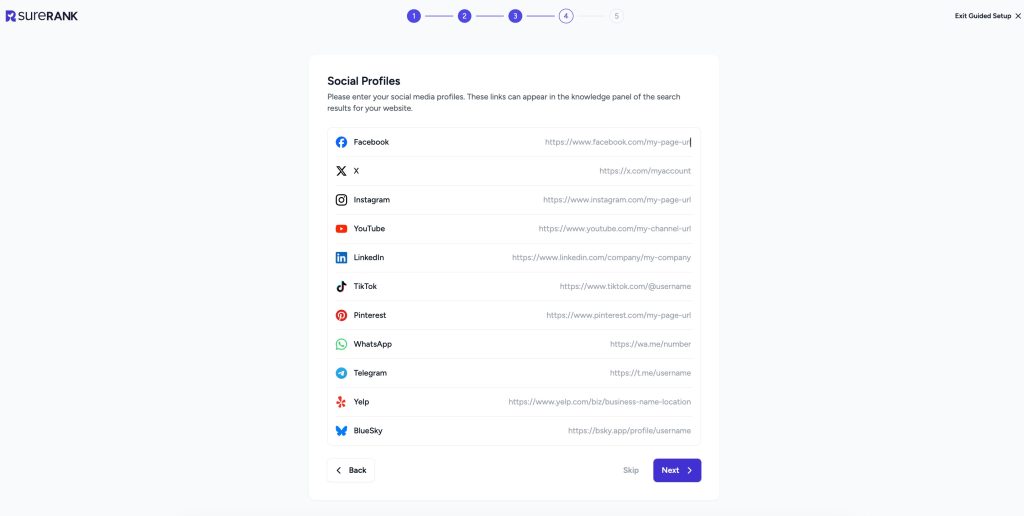
Click “Next” to proceed.
Step 4: Stay Connected & Informed
Choose how you’d like to receive updates, tips, and recommendations to get the most out of SureRank.
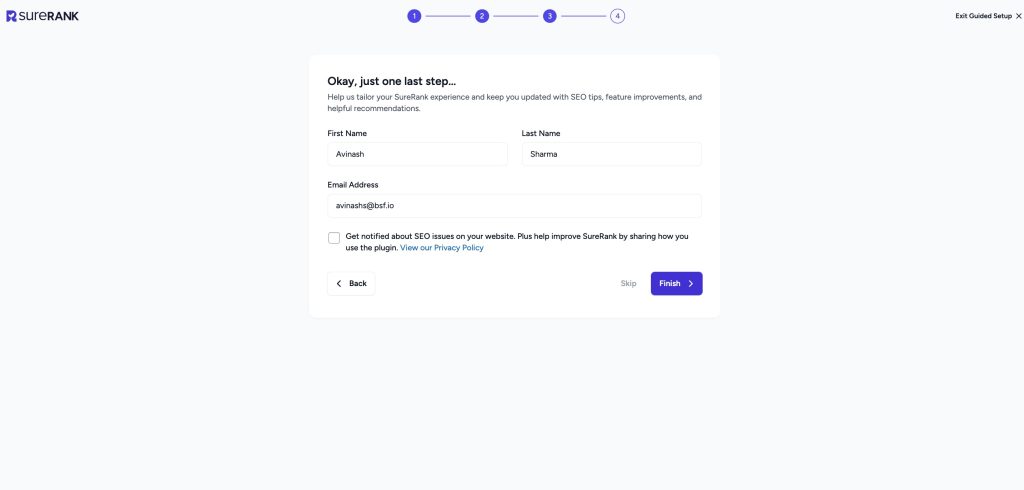
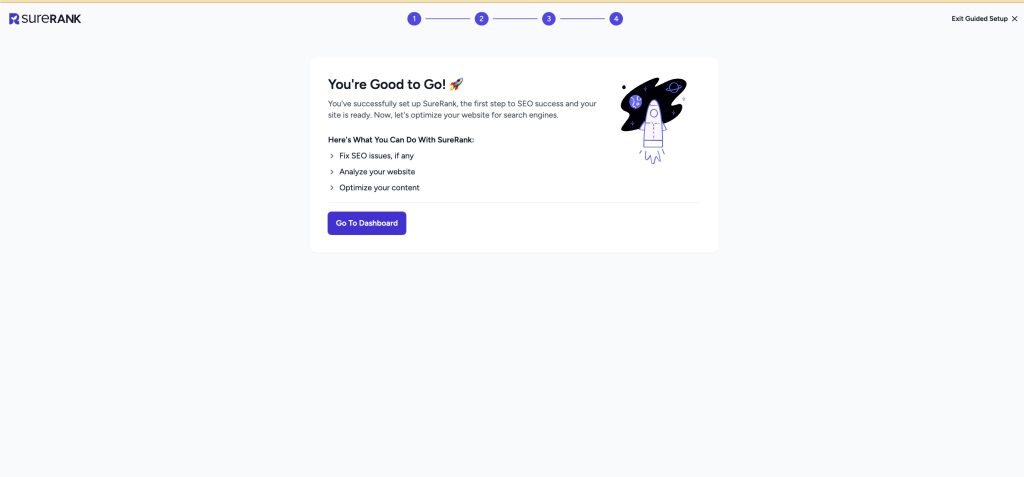
Click “Finish” to complete onboarding. Then click “Go to Dashboard” to start optimizing your site.
We don't respond to the article feedback, we use it to improve our support content.